|
Home > Guides > Herbs > Solomon's Seal |
|
How to Grow Solomon's Seal | Guide to Growing Solomon's Seal |
|
|
|
|
| |
 |
|
Overview |
|
|
|
|
|
| |
|
| |
Solomon's Seal has been utilized in both New and Old World herbalism for centuries, and has been said to have efficacy in treating a wide range of conditions, including indigestion, constipation, broken bones, external scrapes and bruises, inflammation, and general debility. 16th century herbalist John Gerard attributes the name of this botanical to its reputation for quickly 'sealing' external wounds and even broken bones. |
|
| |
|
|
| |
|
|
| |
|
|
|
|
|
|
|
|
|
light, moist, slightly acidic |
|
|
|
|
|
|
|
|
|
|
|
|
Growing Guide
GROWING NOTES
Solomon's Seal can grow to a height of 5' or more and the small green flowers will continue to bloom from June through the summer months.
Solomon's Seal prefers light, slightly acidic soil and will grow better under partially shady conditions.
MAINTAINING
Solomon's Seal can be difficult to germinate, and may take one month or longer to germinate. To enhance germination rates, a three week period of cold, moist stratification is recommended. Seeds can be sown 1/4" deep in covered flats or shallow containers, moistened placed into the refrigerator. If such space is not available, mix seeds with a small amount of moistened vermiculite and placed into the refrigerator. Check often to ensure that mixture remains moist but is not soggy.
After removing from refrigerator, select a warm, indoor location for your container while awaiting germination. Be patient, it may take considerable time for seeds to come up-perhaps as long as several months.
Once seeds have started to come up, gradually increase exposure to sunlight. Harden plants to prepare for outdoor transplanting by placing containers outside during spring or early summer afternoons.
|
|
| |
|
| |
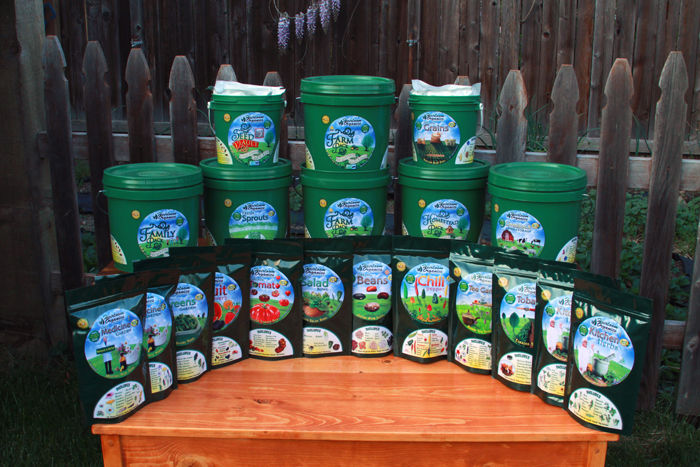
Heirloom seeds are the gardeners choice for seed-saving from year-to-year. Learning to save seeds is easy and fun with these books. Before you harvest, consider which varieties you might want to save seeds from so that your harvesting practice includes plants chosen for seed saving. Be sure to check out our newest seed packs, available now from Heirloom Organics. The Super Food Garden is the most nutrient dense garden you can build and everything you need is right here in one pack. The Genesis Garden s a very popular Bible Garden collection. The Three Sisters Garden was the first example of companion planting in Native American culture. See all of our brand-new seed pack offerings in our store.
|
|
| |
|
|
| |
Harvesting Guide
HARVESTING
The roots can be harvested after the first frost of the fall of the second year, or subsequent years, using garden fork or spade.
SAVING SEEDS
|
|
| |
|
|
|
| |
|
|
|
|
|
| You can find this variety in the following Seed Packs: |
|
 |
|
| Click the packs below to see some of our other wonderful products |
|
|
|
|
|
|
|